Installing Kubernetes using Minicube
The following item walks through how to setup a K8 cluster on my laptop. I will using Minikube
Minikube
It can run a single-node Kubernetes cluster inside a VM . We will use xhyve drive Installation steps are:
curl -Lo minikube https://storage.googleapis.com/minikube/releases/latest/minikube-darwin-amd64 && \
  chmod +x minikube && \
  sudo mv minikube /usr/local/bin/

#install the xhyve drive

  brew install docker-machine-driver-xhyve
  sudo chown root:wheel $(brew --prefix)/opt/docker-machine-driver-xhyve/bin/docker-machine-driver-xhyve
  sudo chmod u+s $(brew --prefix)/opt/docker-machine-driver-xhyve/bin/docker-machine-driver-xhyve
kubectl
Kubectl is the client that allow us to interact with our cluster. In Mac can be installed with brew.
brew install kubectl
#Configuring our first local Kubernetes cluster
First let´s spinup our Minikube
minikube start --vm-driver=xhyve

Starting local Kubernetes v1.6.4 cluster...
Starting VM...
Downloading Minikube ISO
 89.51 MB / 89.51 MB [==============================================] 100.00% 0s

Moving files into cluster...
Setting up certs...
Starting cluster components...
Connecting to cluster...
Setting up kubeconfig...
Kubectl is now configured to use the cluster.
So now the only thing left, is configure the K8 cluster to use our minikube
kubectl config use-context minikube
So lets inspect our cluster status
~/Documents/workspace/ » kubectl cluster-info
Kubernetes master is running at https://192.168.64.2:8443
Deploying our first container
To test that everythings works fine we will just deploy a container directly, expose it as a service and see if we can access via its url Do not worry if you do not fully understand what we are doing. The idea is just to see that what we did works. My idea is go through every single concept in following posts.
#Deploy a public image
~/Documents/workspace » kubectl run hello-minikube --image=gcr.io/google_containers/echoserver:1.4 --port=8080
deployment "hello-minikube" created

#Expose as a service
~/Documents/workspace » kubectl expose deployment hello-minikube --type=NodePort
service "hello-minikube" exposed

#Verify the pod its running
~/Documents/workspace » kubectl get pod
NAME                             READY     STATUS    RESTARTS   AGE
hello-minikube-938614450-q5pqm   1/1       Running   0          34s

#Figure out its url
~/Documents/workspace » minikube service hello-minikube --url
http://192.168.64.2:32363

#Hit it!
~/Documents/workspace » curl $(minikube service hello-minikube --url)
CLIENT VALUES:
client_address=172.17.0.1
command=GET
real path=/
query=nil
request_version=1.1
request_uri=http://192.168.64.2:8080/

SERVER VALUES:
server_version=nginx: 1.10.0 - lua: 10001

HEADERS RECEIVED:
accept=*/*
host=192.168.64.2:32363
user-agent=curl/7.51.0
BODY:
-no body in request-%
So far so good, we have deployed our first pod. What is a pod? As a reminder from my previous blog entry a pod is a collection of containers sharing a network and mount namespace that we can deploy in K8. The containers share namespace, IP and ports. PODs can be reached even across different nodes within the cluster. Keeping a relation one to one between pod and container is a good idea to reduce coupling.
Access to the dahsboard
Kubernetes is known to be much more complex to learn due to the new concepts introduced and the variety of possible commands and parameters we can tune using the command line. Kubernetes also exposes a low level API to get access and status information to figure out what is happening on our cluster. Luckily enough has a powerful UI console that will be very helpful, so I recommend to add this to your favourite commands
minikube dashboard
Automatically triggers our browser http://192.168.64.2:30000/#!/workload?namespace=default
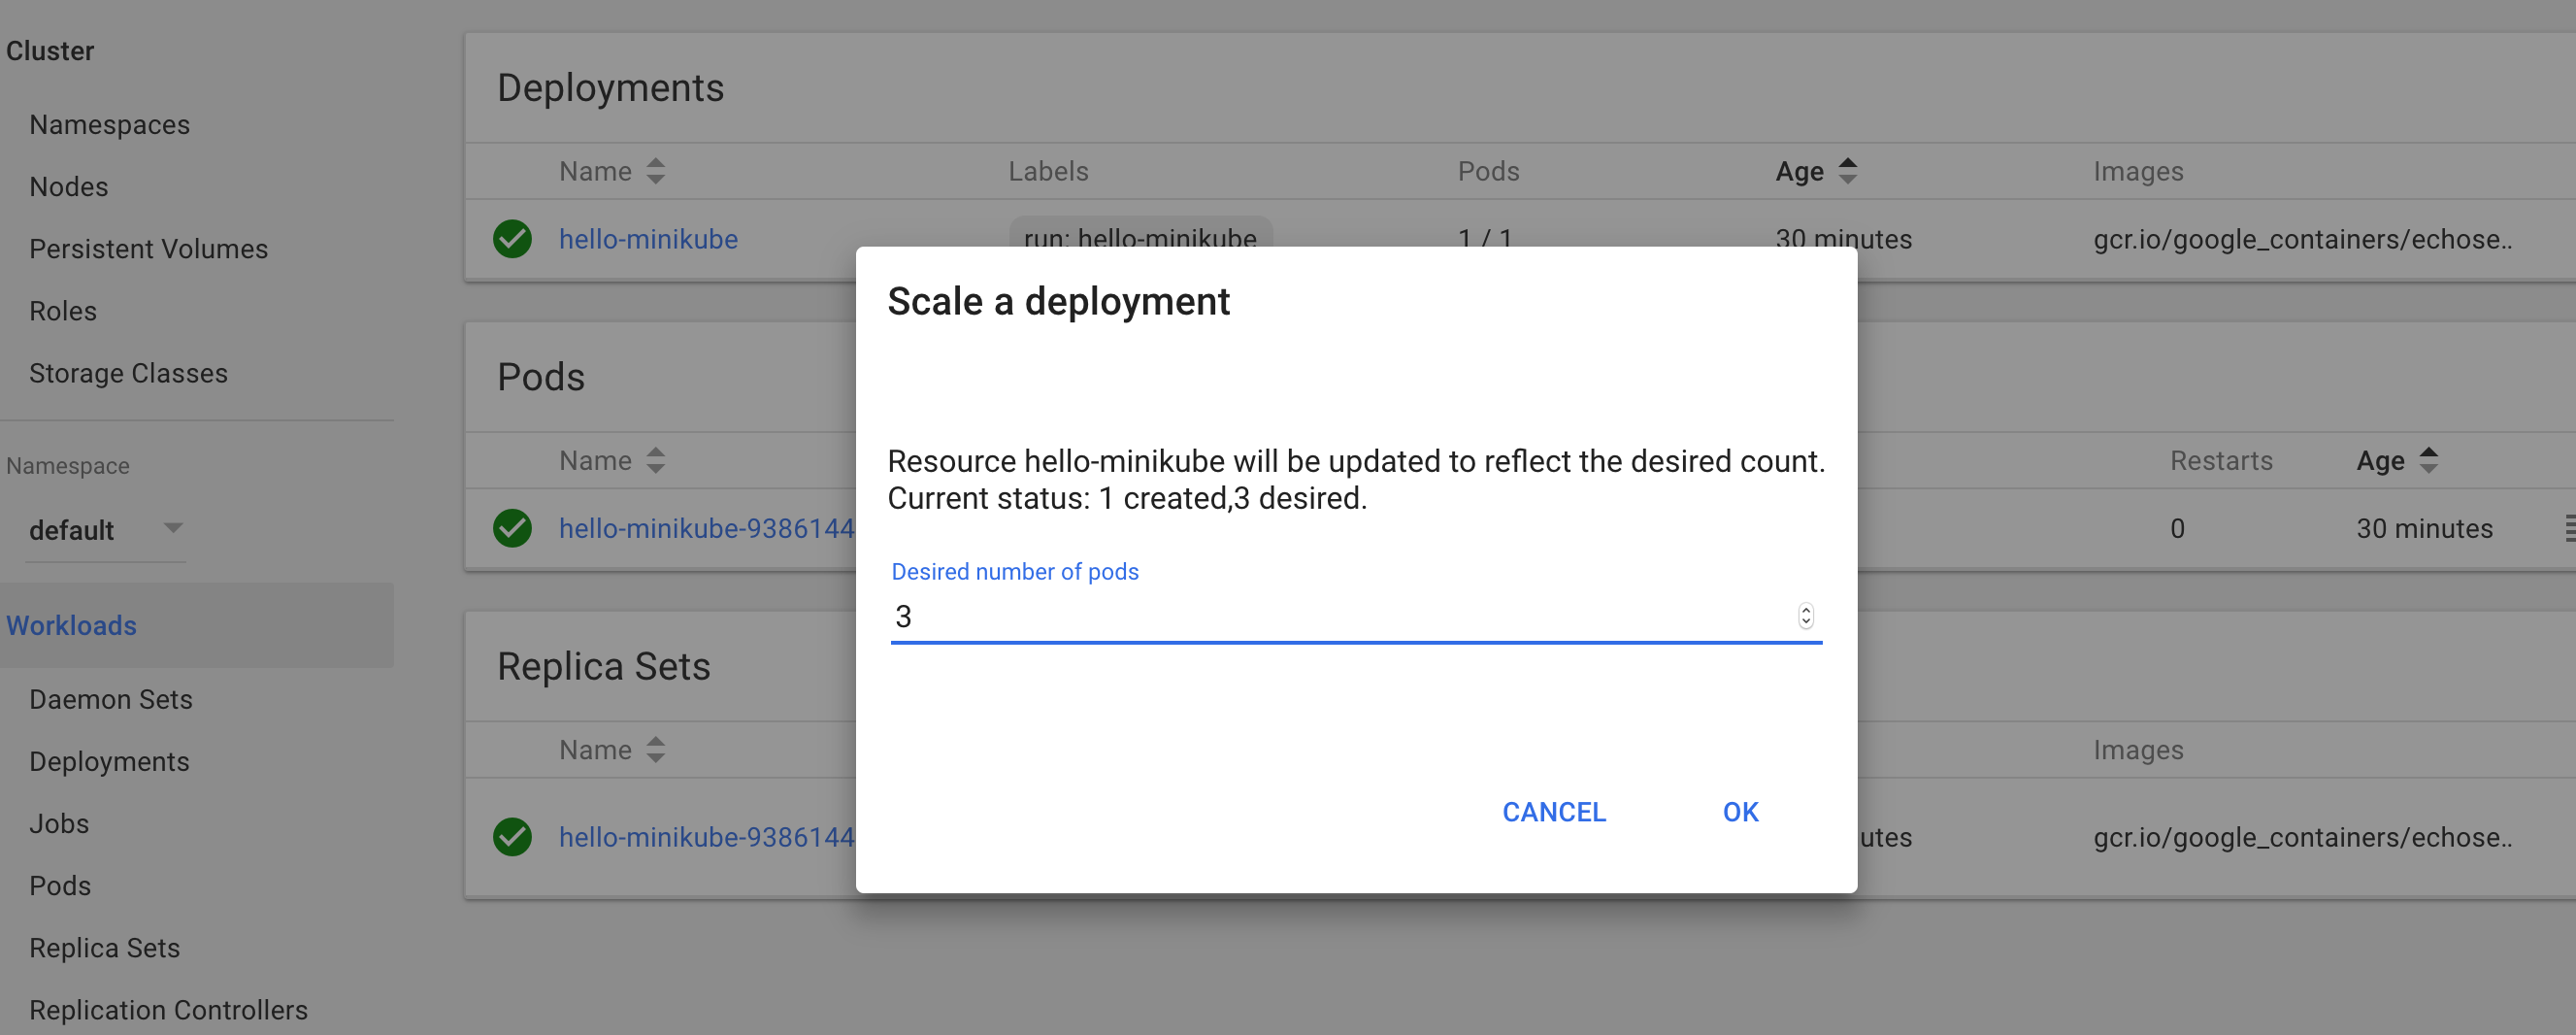
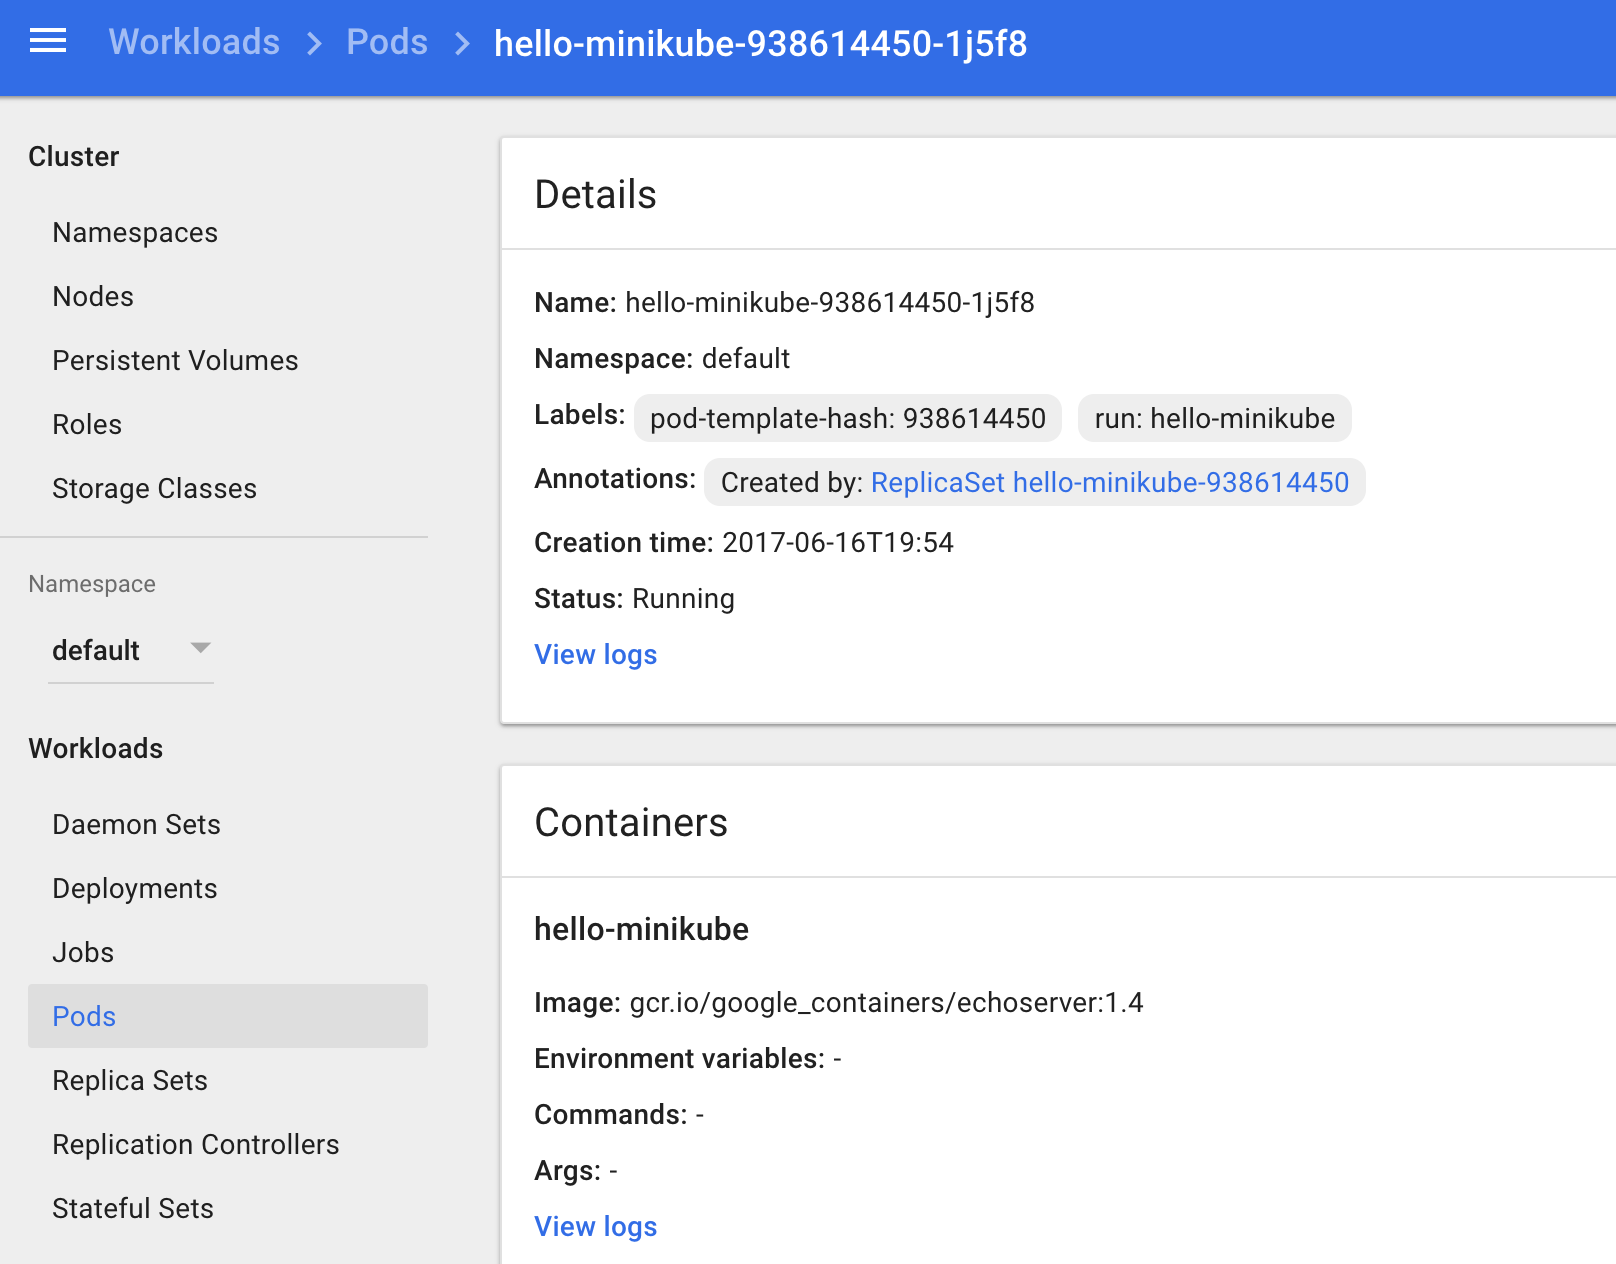
The options with the console are endless, so you can play with them and learn what can be done. Just some examples and screenshots so you can get the idea:
Using the console you can scale the number of pods


You can get details of a specific log and even access to its log files.

Uninstall .. in case you run into issues…
In MacOS I noticed some times minikube fails with xhyve drive (note will not be supported anylonger). Occasionally the minikube start command fails and make impossible to work with it. You can fully remove minikube from your laptop by following these instructions:
minikube stop; minikube delete
docker stop (docker ps -aq)
rm -r ~/.kube ~/.minikube
sudo rm /usr/local/bin/localkube /usr/local/bin/minikube
systemctl stop '*kubelet*.mount'
sudo rm -rf /etc/kubernetes/
docker system prune -af --volumes
